
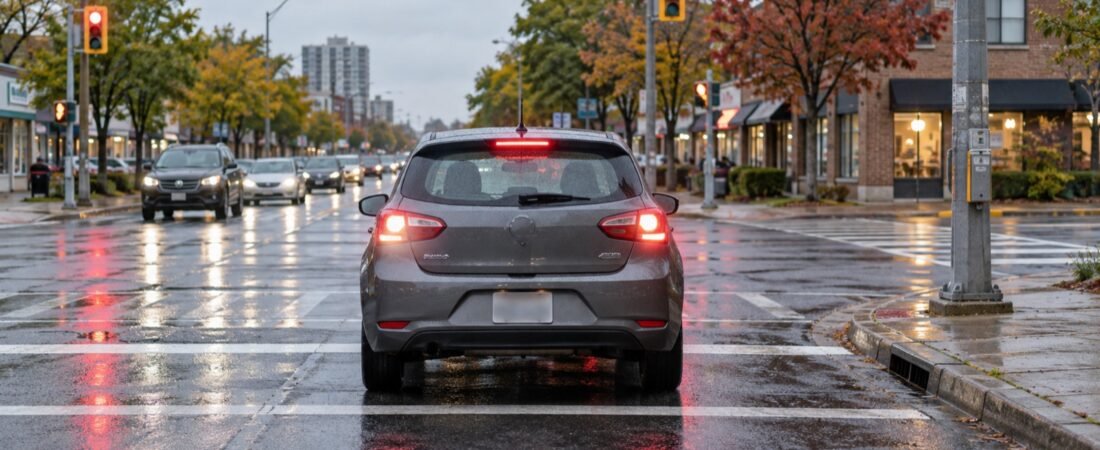
Good braking is less about a dramatic stomp and more about seeing the problem early, creating space, and keeping the car balanced. In Scarborough, you may be moving from a quiet residential street onto a busy arterial, approaching a yellow light with traffic behind you, or meeting a wet patch beside a plaza entrance. The same calm routine works in all of those situations.
This guide explains what Ontario’s handbook says about stopping, then adds the practical habits I want learners to build before a G2 or G road test. The goal is simple: slow smoothly when you have time, brake firmly when you truly need to, and always leave yourself an escape option.
Start with a stable driving position
Before practising braking, set the seat so your knee remains slightly bent when the pedal is fully pressed. Keep both hands available for steering and use your right foot for both the accelerator and brake. That is the MTO’s recommended setup because it reduces the chance of pressing both pedals or lighting the brake lamps accidentally. Make sure the windshield, mirrors and camera areas are clean; you cannot make a good braking decision with poor information.
A common student mistake is sitting too far back and reaching for the pedal with a straight leg. That makes it harder to control pressure. Another is hovering a foot over the brake for every block. Instead, scan ahead, cover the brake when a real risk is developing, and keep a relaxed ankle when the road is clear.
What Ontario requires at a stop
The Official MTO Driver’s Handbook says safe drivers see a stop ahead, check mirrors, begin braking early and stop smoothly. At a stop sign or red light, you must come to a complete stop. Stop at the marked stop line; if there is no line, stop at the crosswalk, then the edge of the sidewalk or intersection as described in the handbook.
Those are rules. My practical recommendation is to look through the windshield far enough ahead that you can choose your braking point instead of reacting at the last moment. In Scarborough, a bus pulling out, a delivery vehicle edging from a driveway or a pedestrian waiting near a crossing can change the picture quickly.
The smooth-braking routine
Use this four-part routine whenever you have time to stop:
- See it. Identify the red light, stop sign, queue, turn, or hazard early.
- Check it. Glance at the rear-view and side mirrors so you know who is behind you.
- Lift, then press. Come off the accelerator, move your right foot to the brake, and apply pressure progressively.
- Settle. Ease pressure slightly as you reach the line so the final stop is controlled, not a head-nod.
Practise first on a quiet Scarborough street with a supervising driver. Pick a fixed reference point and repeat the same stop several times. You are looking for a consistent, quiet transfer of weight—not the shortest possible stop.
Following distance gives you braking time
The MTO recommends at least a two-second gap in ideal conditions and says to add space for rain, snow, motorcycles, large trucks or a heavy load. Read the handbook’s maintaining-space guidance for the counting method. On a wet day, I want learners to extend that gap before they need to brake. More space turns a panic stop into an ordinary stop.
If a driver follows you closely, do not “teach them a lesson” by braking suddenly. Keep your eyes up, maintain a steady speed, and leave extra room ahead so you can slow gradually. If you must stop, stop where the road requires and keep steering straight.
When an emergency stop is necessary
An emergency stop is different from a planned stop. If a child runs toward the roadway, a vehicle cuts across your path, or traffic suddenly stops, look up, keep both hands on the wheel and apply firm, continuous brake pressure. Modern cars may activate ABS; you may feel pulsing through the pedal. Keep pressing and steer toward the safest open space. Do not pump an ABS brake pedal.
Do not practise a maximum-force stop beside traffic or with an unqualified passenger. The handbook’s emergency guidance supports controlled practice with a qualified instructor. In a lesson, I can choose a clear, legal area, explain what the vehicle will feel like, and build intensity gradually.
Rain, leaves and winter change the answer
The MTO’s night and bad-weather section warns that rain, snow and fog reduce visibility and that you must not drive faster than you can safely stop within what you can see. It also advises avoiding sudden braking, steering and acceleration on snow and ice.
That matters on Scarborough’s hills, bridge decks and shaded side streets. After a first autumn rain, leaves can make painted lines and metal covers slippery. In winter, a shiny patch may be ice even when the rest of the lane looks clear. Slow before the surface changes, increase your following distance, and finish most of your braking before a turn. My advice is a recommendation; the weather rule is the official requirement to drive at a speed suitable for conditions.
Yellow lights: decide early, never race
When a signal changes to yellow, check your speed, distance and traffic behind you. If you can stop smoothly before the line, do so. If you are too close to stop safely, continue through the intersection while watching for pedestrians and cross traffic. Never accelerate to “beat” a yellow. Review our Scarborough yellow-light guide for a fuller decision routine.
Common braking mistakes I correct
- Late, hard pedal: scan farther and begin with light pressure.
- Brake while turning: reduce speed in a straight line before the curve; our curve and ramp lesson explains why.
- Following too closely: use the two-second count, then add time for weather.
- Eyes down at the stop line: keep looking through the intersection so you notice people and vehicles.
- Releasing the brake too quickly: hold the car stopped until the path is clear, then move deliberately.
A five-minute practice checklist
Before each practice drive, ask:
- Is my seat, mirror and foot position comfortable?
- Can I name the next two places where traffic may stop?
- Do I have at least two seconds of space, with more for rain or snow?
- Can I stop at the correct line without a last-second lurch?
- If the road ahead closes, where is my safest open space?
Keep a short note after the drive: one stop that felt smooth and one that felt late. That small review is more useful than repeating a mistake for an hour.
Build confident braking in Scarborough
Braking improves when you practise observation, spacing and control together. If you are preparing for a G2 or G road test, book a Scarborough driving lesson with SparkOn Driving Academy. We can work on wet-weather judgement, yellow-light decisions, emergency-stop technique and the everyday transitions that make you a calmer, safer driver. Contact us to plan your next lesson.
Official sources: Ontario Ministry of Transportation, Stopping; Driving along; Driving at night and in bad weather; and Dealing with emergencies.