
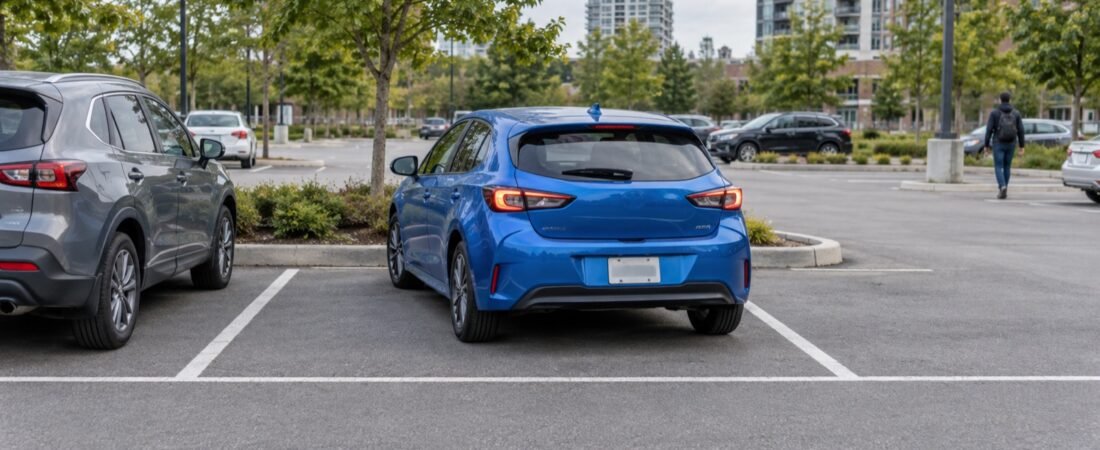
Reverse parking is one of those skills that looks simple from the passenger seat and feels surprisingly busy from the driver’s seat. In a Scarborough plaza or condo garage, you may be watching the space, the car beside you, pedestrians, carts and the front swing of your own vehicle at the same time.
The answer is not memorizing one magic steering point. It is learning a slow, repeatable routine that gives you time to see, stop and reset. This guide explains how I would practise reverse parking with an Ontario learner, what the official guidance says, and which habits make the manoeuvre calmer for everyday driving and a G2 road test.
What the official guidance covers
The Official MTO Driver’s Handbook says to take extra care and move slowly when backing up. Before reversing, check that the way is clear, look over the shoulder in the direction you are moving, check the opposite side too, and make sure the front of the vehicle will not hit anything as you turn.
The handbook’s parking guidance also says to obey signs, avoid blocking sidewalks and entrances, set the parking brake when properly parked, and check for traffic before opening a door or moving from a parked position. These are the official safety rules. The practice sequence below is my instructor recommendation for applying them in a marked space.
Choose a space that gives you room to learn
Start with a quiet, legal public parking area where you have permission to practise. Choose a space with a clear aisle and good visibility rather than placing a beginner between a large SUV and a concrete column. In Scarborough, an almost-empty section of a plaza or a permitted condo visitor area can be useful at a quiet time. Avoid busy entrances, loading zones, accessible spaces unless you are entitled to use them, and any lot where your practice would interfere with people walking or shopping.
Before you select reverse, look at the whole scene. Notice the lines, the vehicle beside the space, the aisle behind you, light standards, carts, low posts and pedestrians. If the space is too tight for a calm correction, choose another one. Good judgement includes deciding not to take a difficult space.
Set up before the car moves
Position the vehicle straight and leave a comfortable gap from the parked cars on both sides. Signal if you are manoeuvring in a shared aisle and make your intention clear to other drivers. Check the interior mirror, both side mirrors and both shoulder areas. Turn your head and look through the rear window in the direction you will travel; mirrors support your view, but they do not replace it.
Keep your right foot ready over the brake and select reverse only after you have completed the first observation. Release the brake gently and let the vehicle creep. You should be moving slowly enough to stop immediately if a person, cart or vehicle appears. If someone is walking behind you, stop and let them pass rather than trying to predict their path.
A calm three-part reverse-parking routine
1. Back straight until the rear of your vehicle is beside the space. Use the lines and the parked vehicle beside you as references, but keep scanning. Your first goal is alignment, not speed. If you start too close to one side, stop, select drive and correct while you still have room.
2. Turn smoothly toward the space. Once the rear corner has reached the opening, steer in the direction of the space and continue at a walking pace. Watch the inside rear corner, the opposite side and the front corner that swings out. New drivers often watch only the back camera or one mirror; that leaves a blind area and can bring the front of the car close to a neighbouring vehicle.
3. Straighten as the car becomes parallel with the lines. As the vehicle enters the space, unwind the steering so the car finishes centred. Stop before the end of the space, not after the front bumper has crossed a curb or pedestrian path. Set the parking brake, select park and look around before opening a door.
Use a correction instead of forcing a bad angle
A correction is not a failure. If the car is angled, stop fully, select drive and pull forward just enough to create a better starting position. Recheck the space and repeat the slow observation. Forcing the wheel while continuing to roll usually makes the angle worse and increases the chance of touching a line, post or neighbouring vehicle.
This is a common student mistake: trying to finish in one motion because someone is waiting behind. The driver behind you can wait. A calm stop, a visible recheck and a small correction show better control than a rushed manoeuvre. If the aisle becomes busy, pause and let traffic clear.
Common learner mistakes I would correct
- Looking only at the camera: Use it as an aid, but turn and look where the vehicle is travelling. Check both sides and the front swing.
- Reversing too quickly: Speed reduces your time to interpret a moving pedestrian or cart. Keep the brake covered and use a walking pace.
- Starting with the wheels already turned: Begin straight when possible. A clean setup makes the car’s path easier to predict.
- Chasing the line: If you drift, stop and correct. Do not make several fast steering changes while rolling.
- Forgetting the exit: Before parking, think about how you will leave. A pull-through space or a space with a clear forward exit may be the better choice.
How this connects to the G2 road test
DriveTest lists parking and reversing among the elements of the Class G2 road test, along with other basic driving skills. That does not mean there is one public “perfect” parking pattern or that every location gives the same instruction. Follow the examiner’s directions, ask for clarification before moving if you did not hear them, and keep your observations visible and deliberate.
Practise the skill as a complete driving task: mirror checks, signal, shoulder checks, controlled speed, steering, stopping and a safe re-entry into the aisle. A student who can park neatly but does not check for a pedestrian is not ready. The goal is safe control, not a memorized number of steering turns.
A 10-minute Scarborough practice plan
- Walk the area and choose three wide, legal spaces with clear sightlines.
- Do two straight-back approaches without turning, stopping to reset each time.
- Reverse into the first space slowly, then pull out forward and scan the aisle.
- Repeat into a space beside a vehicle, checking the front swing as you turn.
- Practise one correction on purpose: stop, pull forward, realign and finish centred.
- End with a full observation before leaving, including pedestrians approaching from either side.
Stop the exercise if you feel rushed or your scanning becomes automatic. Take a short break, reset the mirrors if needed and continue only when you can see the whole task again.
Build confidence before test day
Reverse parking becomes easier when it is one part of a wider routine. Combine it with safe reversing in Scarborough parking lots, your seat-and-mirror setup, smooth braking and a final walk-around. Those habits transfer to plazas, apartment garages, roadside parking and the road test.
If you are learning in Scarborough and still feel unsure about angles, corrections or checking around the car, book a focused lesson with SparkOn Driving Academy. We can start in a quiet permitted area, build the routine one step at a time, then practise entering and leaving busier lots when your control is ready. For questions or scheduling, contact SparkOn.
Quick reverse-parking checklist
- Is the space legal, wide enough and free of pedestrians?
- Did I scan mirrors, both shoulders and the rear window?
- Am I moving slowly enough to stop immediately?
- Am I watching the rear path and the front swing?
- Can I stop and correct instead of forcing the angle?
- When parked, are the wheels straight, the car centred and the exit clear?
That is the habit I want a new driver to take away: slow down, look around, make one clear decision, and be willing to reset. It works in a Scarborough parking lot today and on many ordinary drives after the road test.